How to Paint Realistic Grass
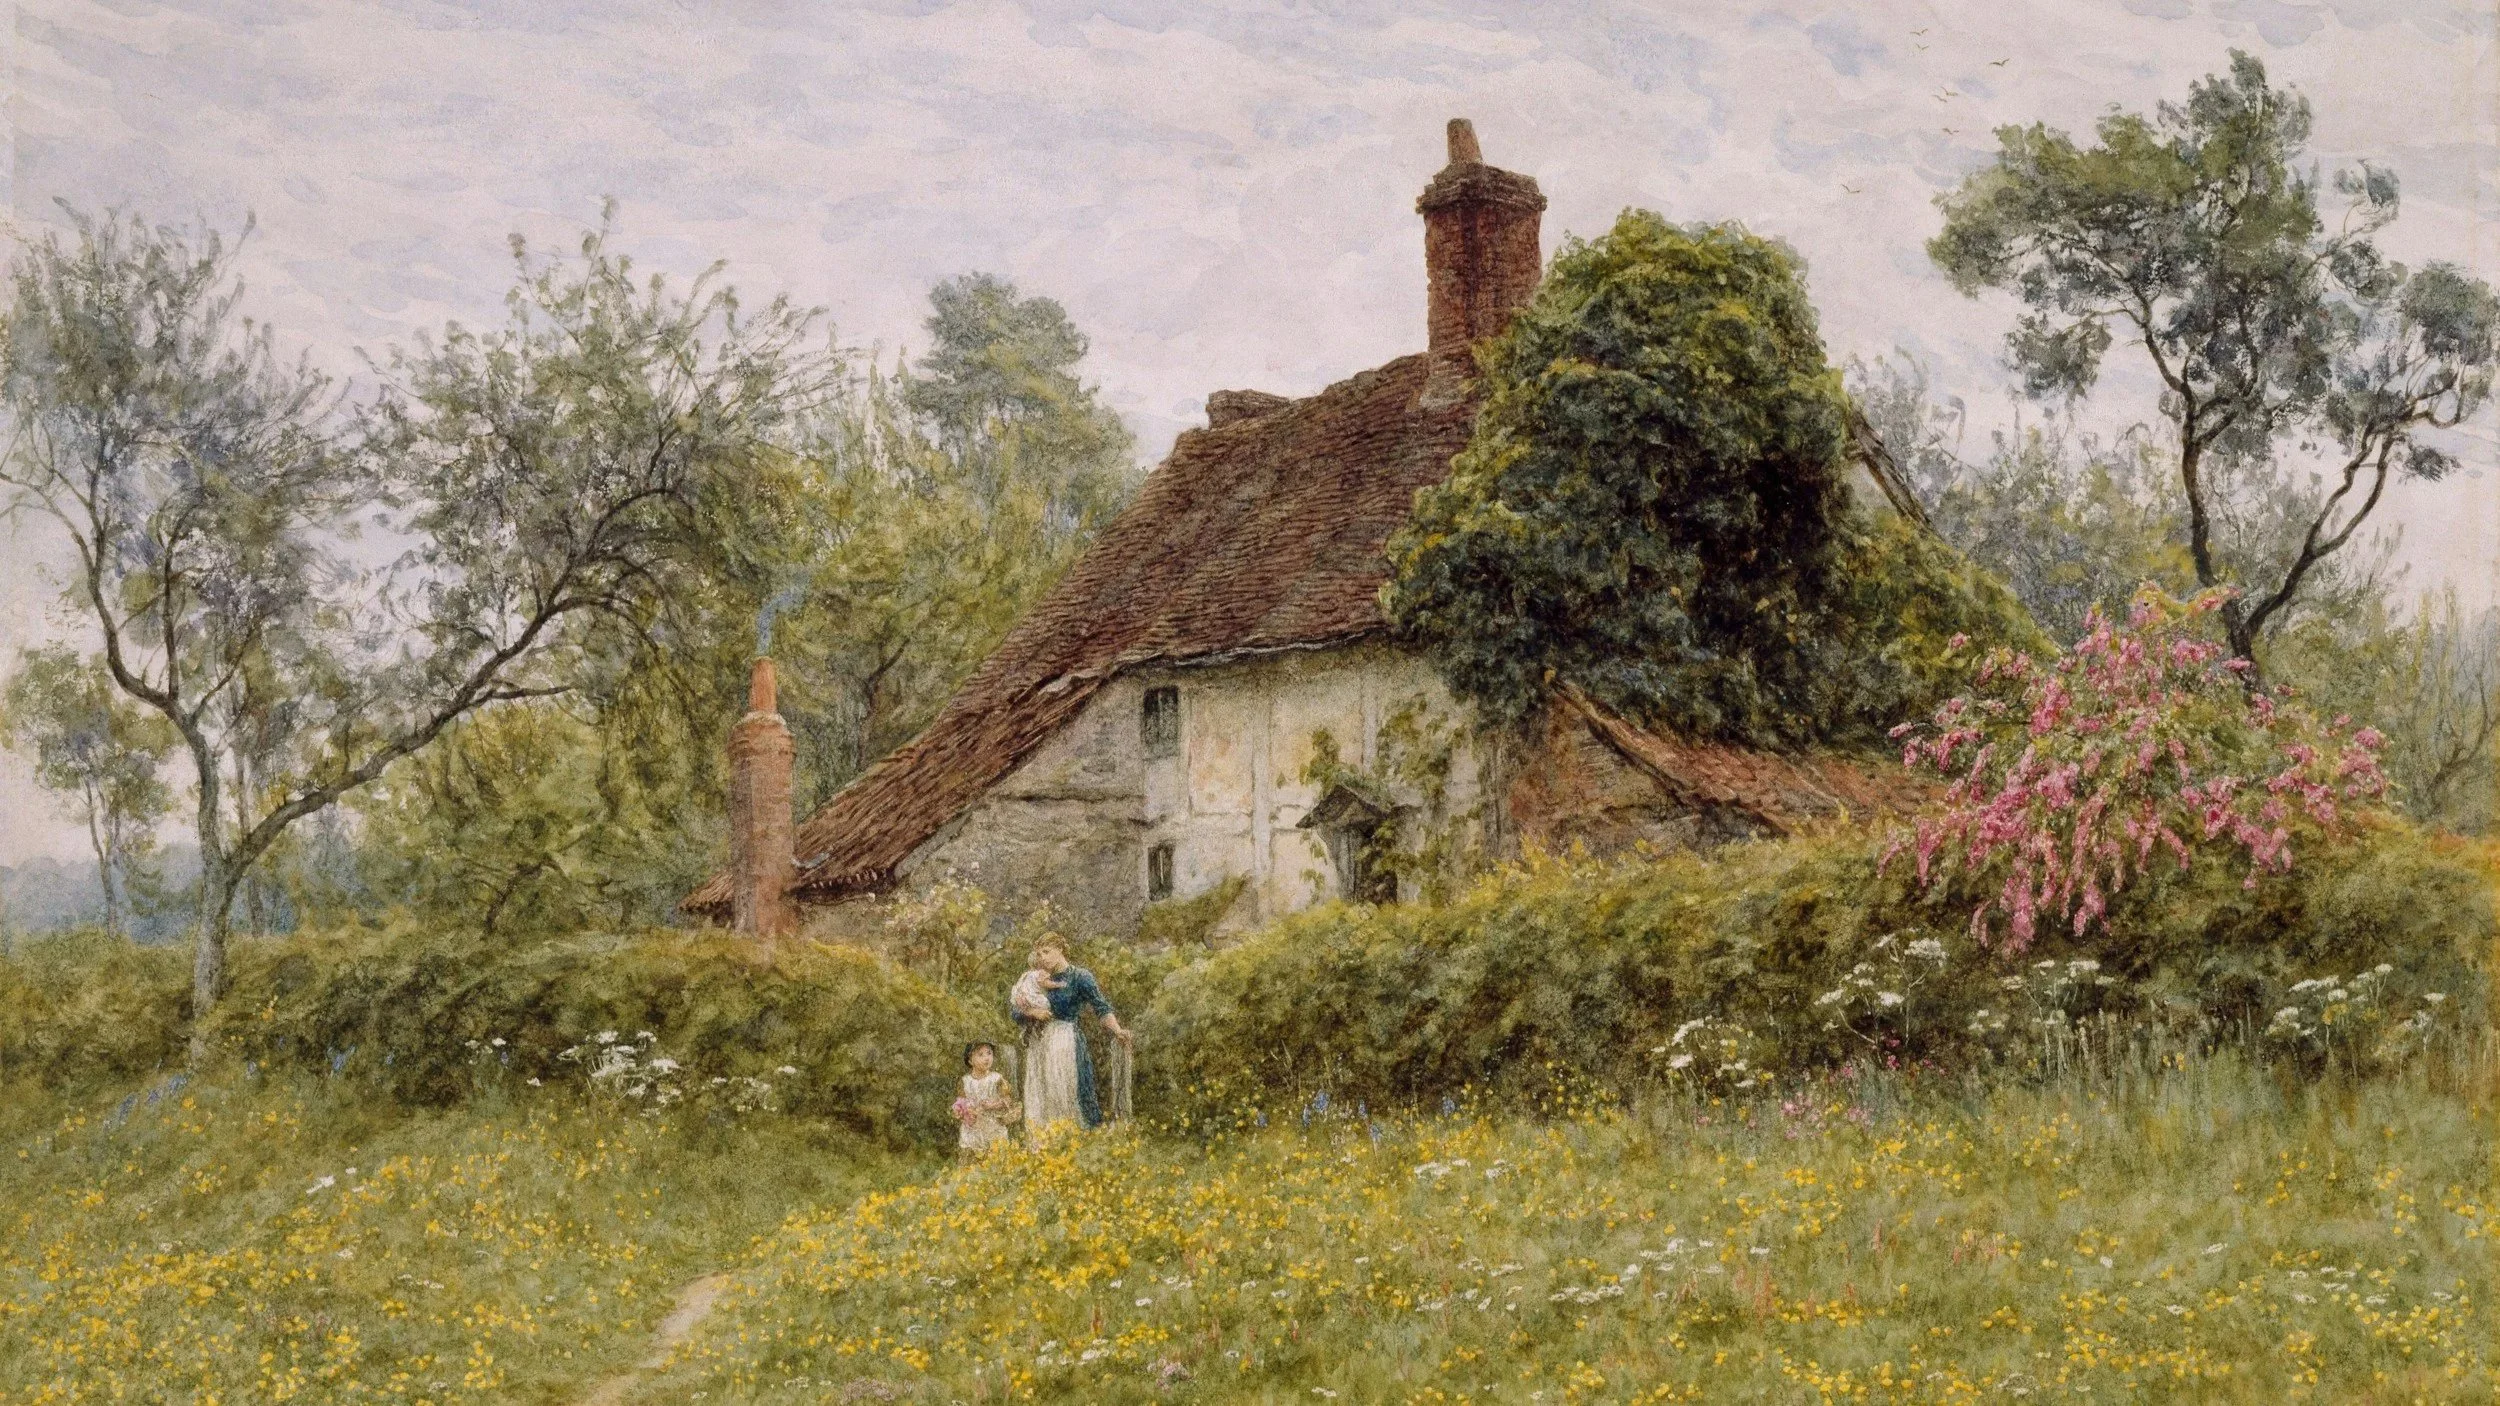
Old Cottages at Pinner by Helen Allingham
Painting realistic grass is one of those deceptively simple landscape tasks that can make or break the believability of a scene—get it right, and your viewer steps into a living field; get it wrong, and your meadow reads flat and fake. In this post I'll share practical, field-tested tips for both acrylic and oil painters—covering brush selection, layering, color mixing, directional strokes, texture building, and how to suggest distance with value and edge control. You CAN paint grass that feels alive, responds to light, and complements the rest of your landscape.
Painting realistic grass relies on three core pillars: layering, brush technique, and tonal contrast. The goal is to suggest the complexity of grass through light and shadow rather than painting every individual blade.
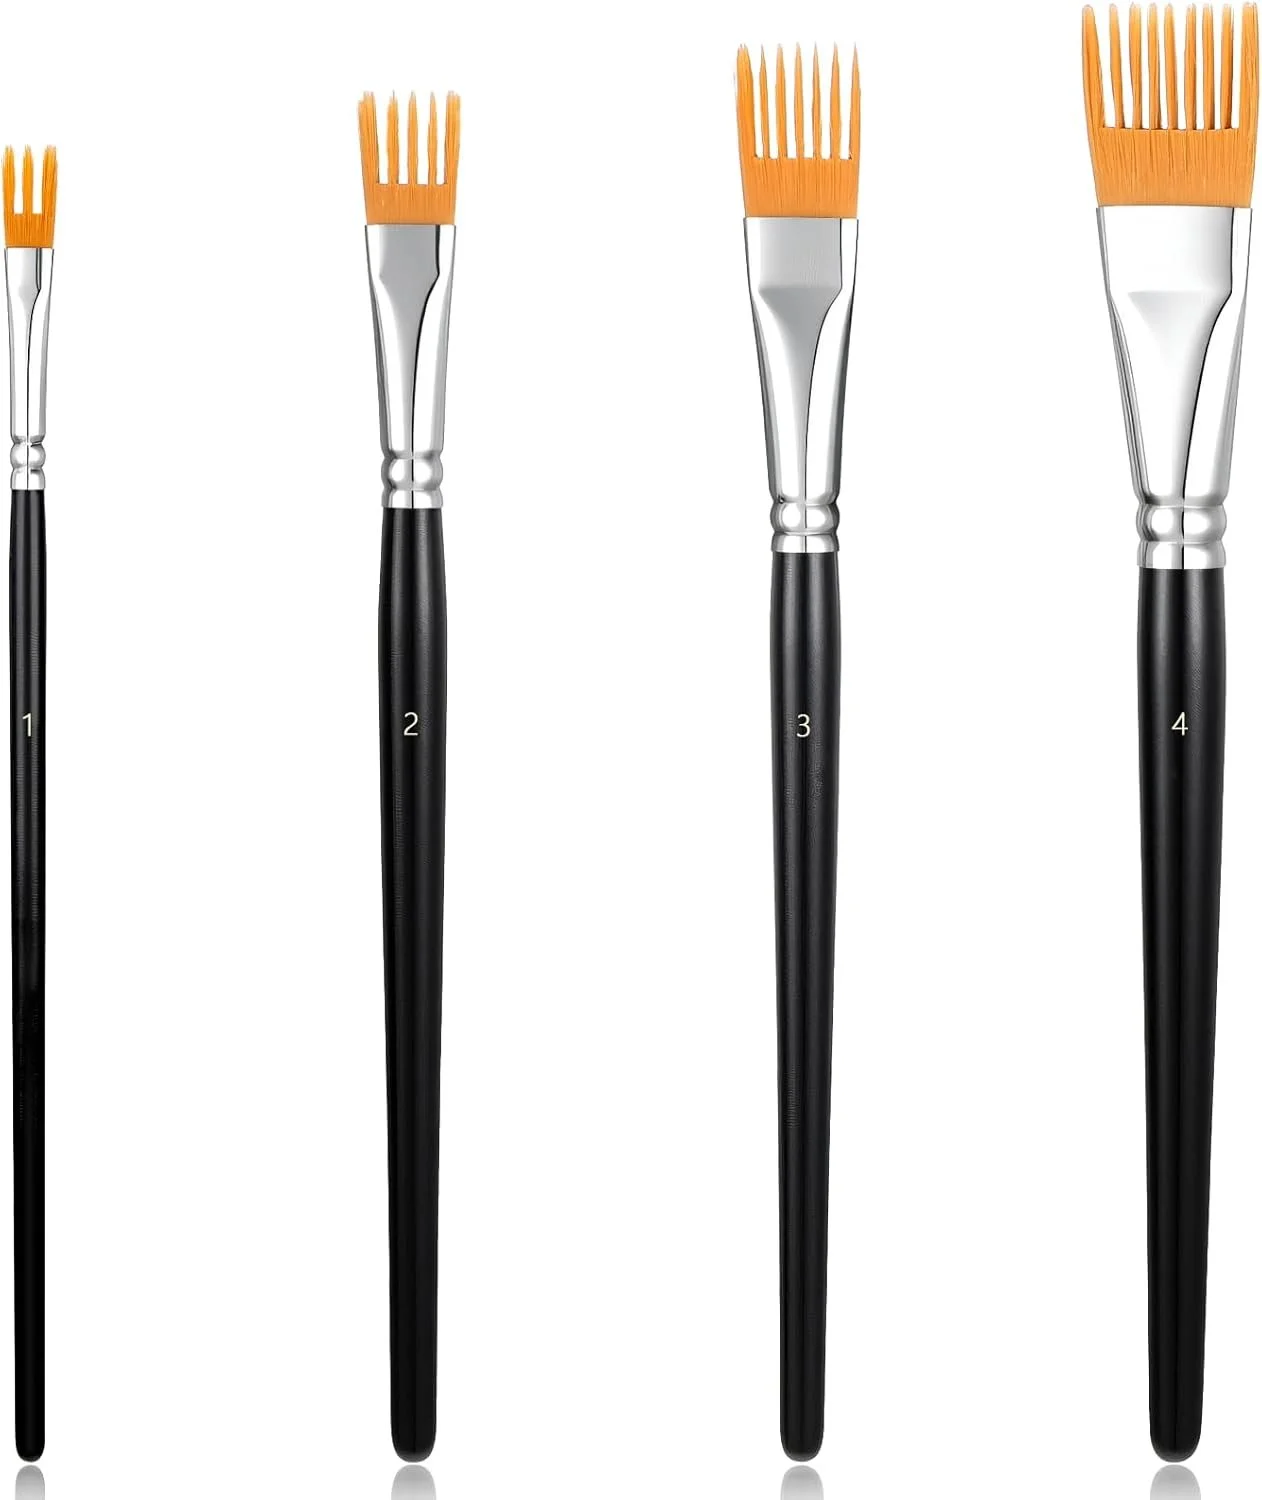
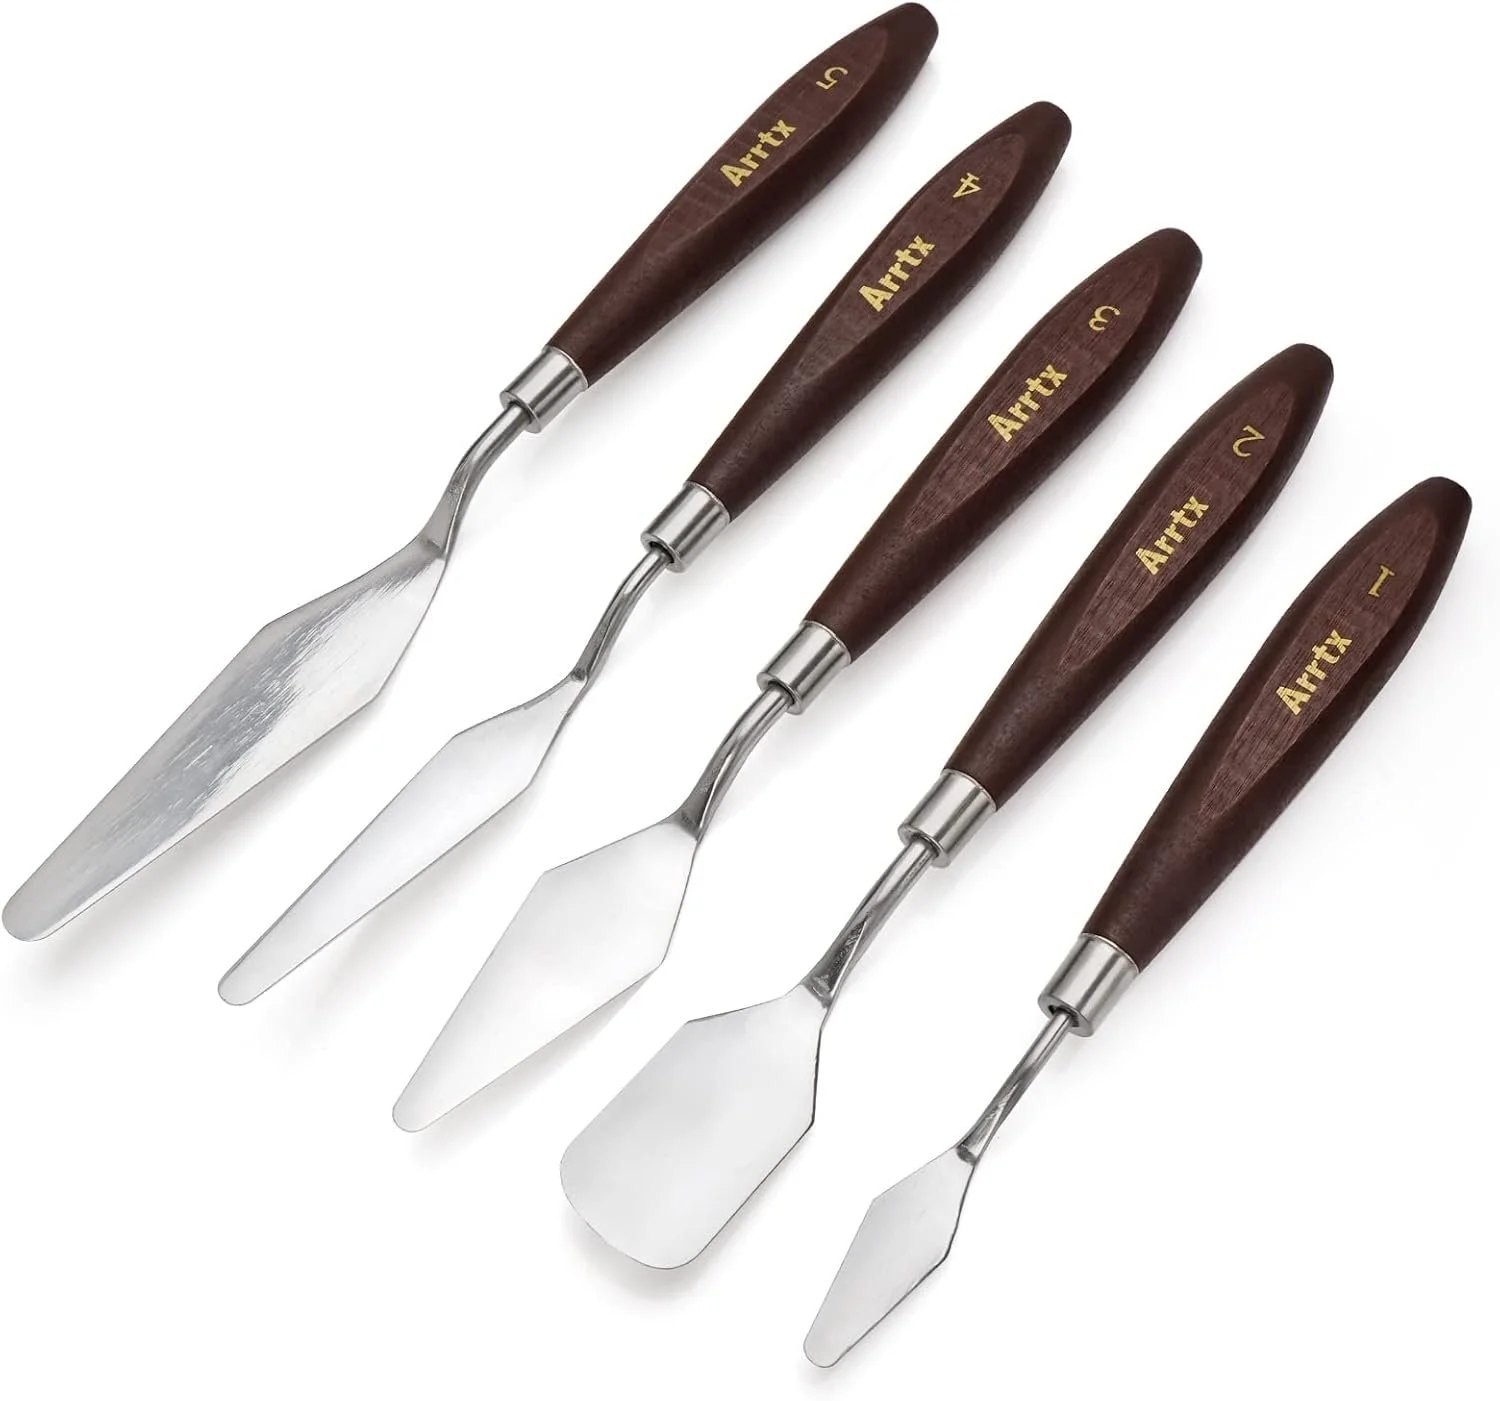
Essential Tools: Choosing the right brush is critical for creating natural textures.
Fan Brush: Ideal for creating mass texture and wispy blades.
Rigger or Liner Brush: A Series 1 rigger is best for fine, detailed blades in the foreground.
Filbert Comb Brush: Excellent for building up a "combed" grass texture.
Natural Bristle Flat Brush: Used for the initial blocking and building a textural base.
The Layering Process: To achieve depth, you must build the grass in stages from dark to light.
Block in Shadows: Start with a dark, under-saturated base layer (e.g., a mix of Sap Green and Burnt Umber). This creates the "ground" that sits behind the blades.
Add Midtones: Once the base is dry, apply your main green color. Use a fan brush with upward strokes to create a thick texture.
Apply Highlights: Use lighter shades (mixing in Cadmium Yellow or White) to represent sunlit areas.
Final Details: Use a rigger brush with thinned paint to add a few sharp, individual blades in the foreground.
Professional Techniques
Flicking Motion: Use light, upward flicking strokes. Forcing a downward stroke can make grass look heavy or "stumpy".
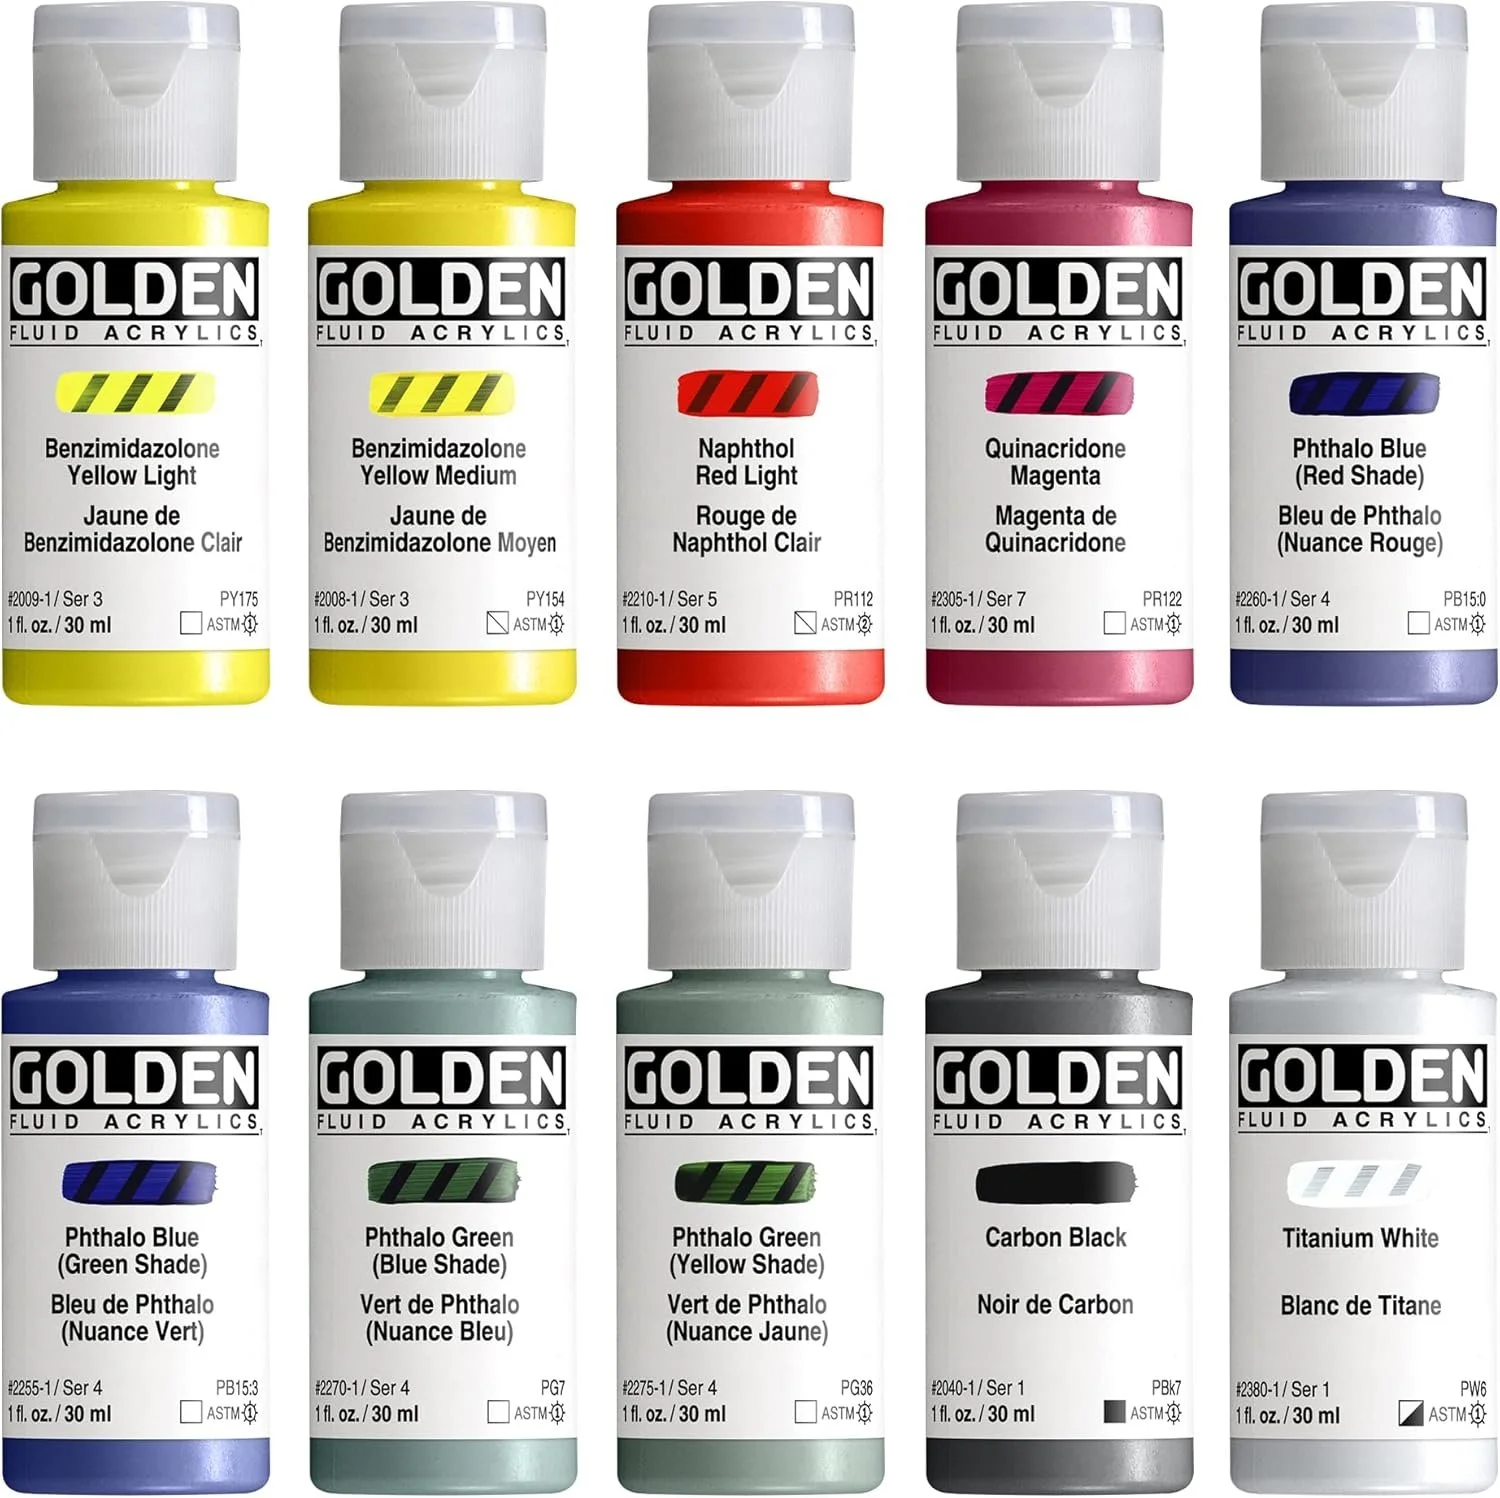
Color Variety: Natural grass isn't just one shade of green. Incorporate yellow ochre for warmth, touches of red to desaturate, and blues for blades in shadow.
Atmospheric Perspective: Grass in the distance should have less detail, cooler colors (more blue/white), and lower saturation.
Avoid Uniformity: Vary the height, angle, and thickness of your strokes to avoid a "fence" look.
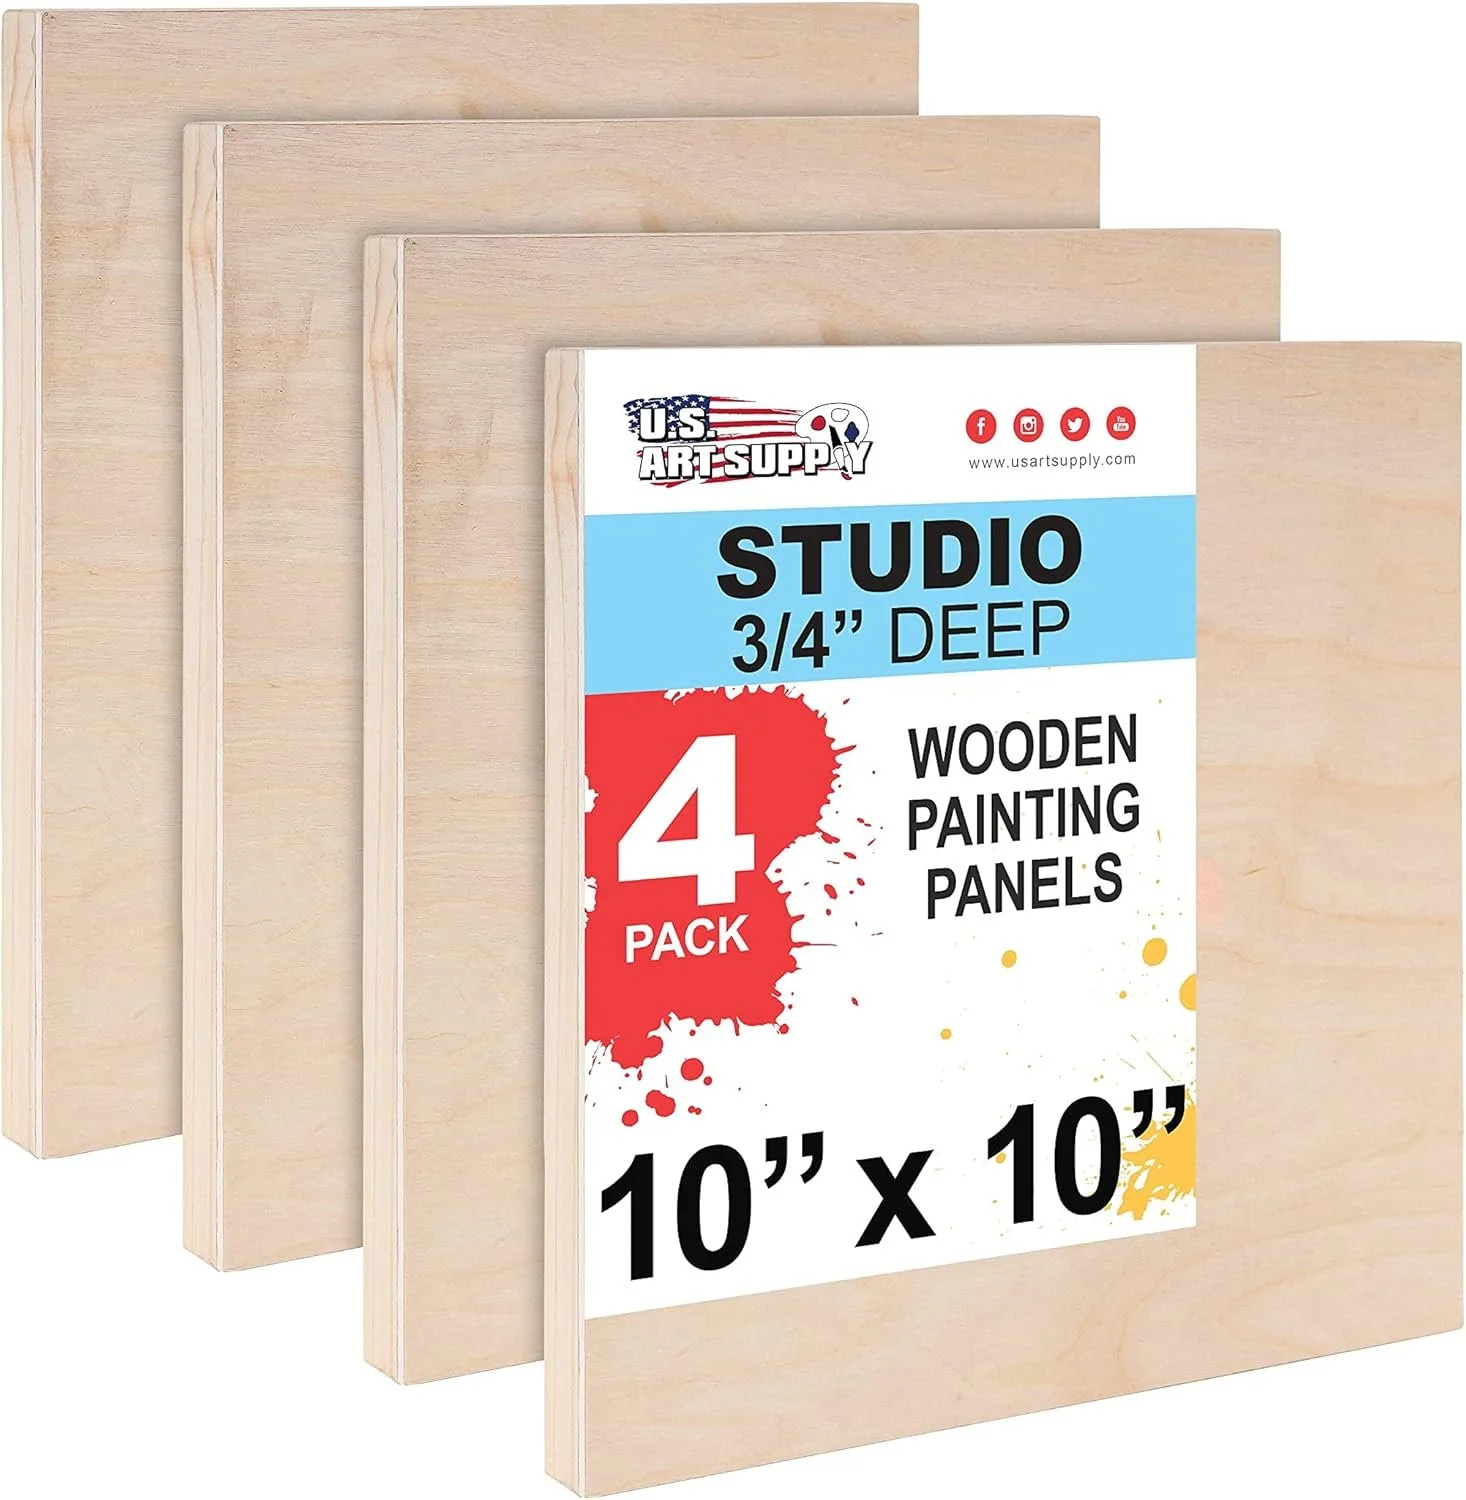
My Favorite Supplies
Below you’ll find some of my favorite supplies. These are products that I use a lot in my own art. Note: I am a participant in the Amazon Services LLC Associates Program, an affiliate advertising program designed to provide a means to earn fees by linking to Amazon.com and affiliated sites.


Below is a visual that you can use for reference. It is a summary of all the things we’ve discussed in this blog posting.
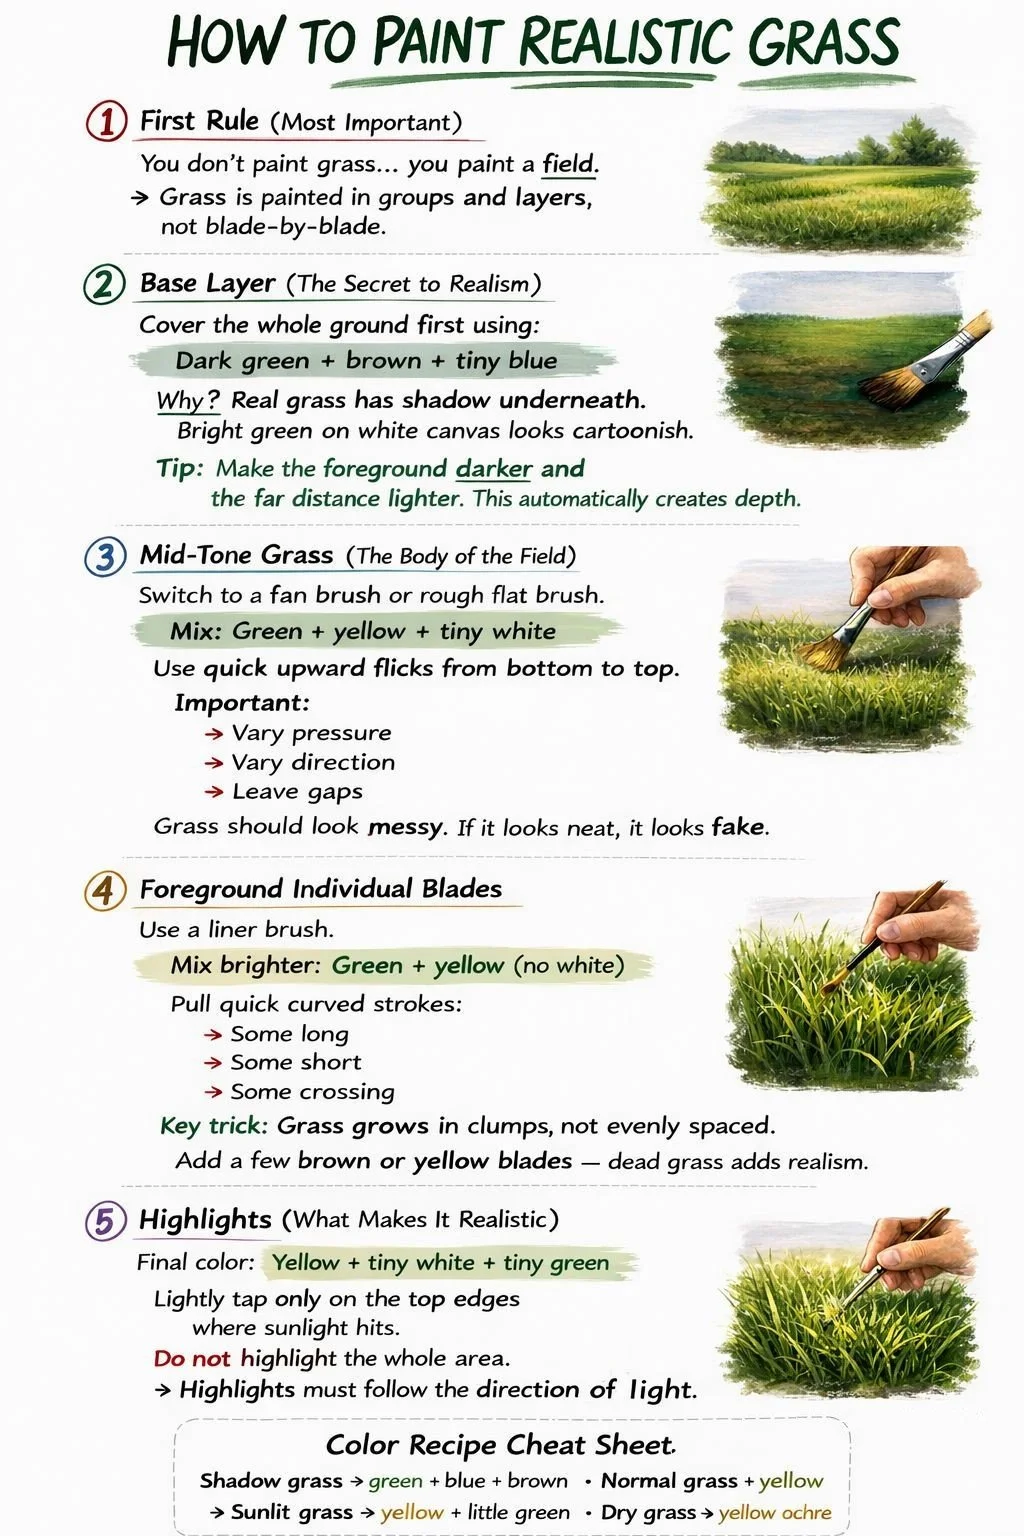
In closing, I hope you’ve enjoyed learning how to paint realistic grass.
My plan is to do a series of Landscape Painting Techniques so watch for new postings in the near future.
Reach out if you have any questions or comments and don’t forget to subscribe to our monthly newsletter.
Till next time … Happy Painting !
Joy
Sources:
YouTube Chuck Black Video
Amazon
NomanPainting
AI Images